Livewire is a Laravel package to make powerful, dynamic, front-end UI. It offers a convenient way of building SPA-like interactive apps with PHP (without writing JavaScript).
On July 20th of 2023, at Laracon US, the new shiny Laravel Livewire v3 is officially released. With the new Alpine based core and a bunch of new features – it’s going to be awesome!
Let’s explore the fresh, out-of-the-oven Livewire. ♨️
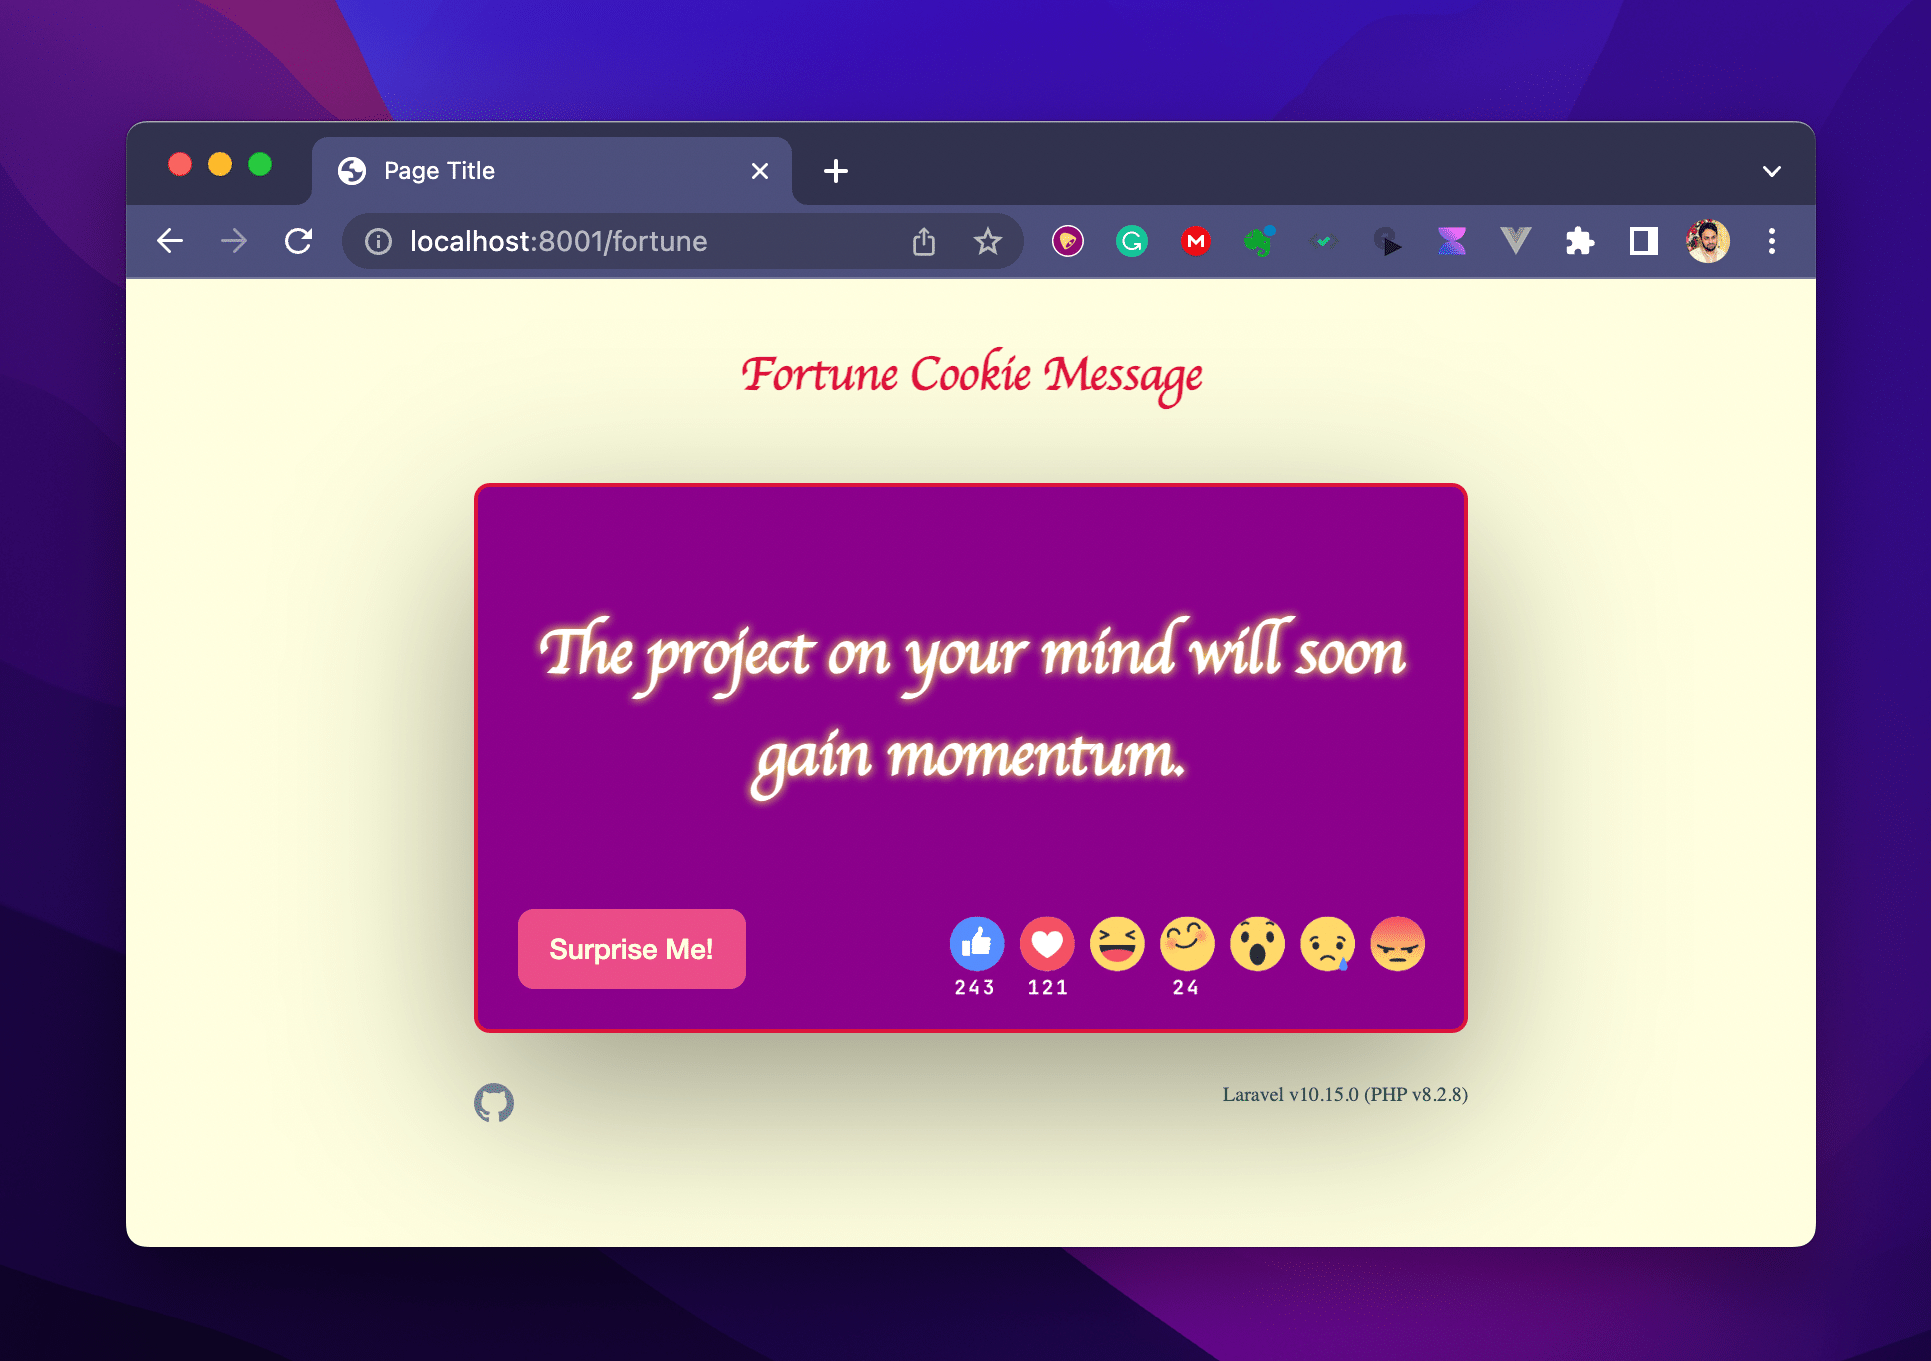
We are going to build a Fortune Cookie Message app. These are small, inspirational, positive messages printed on paper and served inside specially shaped cookies. See the story here.
We’ll make it in a 3 step journey with the following milestones:
- Make a new Livewire app. Show up a different inspirational message every time we hit a button.
- Add an Emoji reaction counter. Explore various livewire features.
- Make an admin section with authentication and a data grid.
It’s small enough to try and complete within a day but has the scope of exploring various interactivity features.
Continue reading →